Testing HiveMQ & EMQX Implementation with Bevywise IOT Simulator
by Hema | Jun 02, 2021 | IoT Simulator | 0 comments
Bevywise IoT simulator is a comprehensive simulating tool to develop, test & demo real time IoT applications and IoT devices in a quick and easy way. It is a simple & powerful tool with all the flexibility to develop & test MQTT Broker / application without real devices/networks. In that case, Bevywise IoT simulator supports testing your IoT application built on any MQTT Broker available. This article provides you an ultimate step by step guide on integrating HiveMQ & EMQX with Bevywise IoT Simulator.
HiveMQ testing with IoT Simulator
Before we start the integration procedure to test MQTT Broker, let us complete the installation process of HiveMQ & Bevywise IoT Simulator.
HiveMQ Installation
First, check the pre-installation requirements of HiveMQ with the help of this user guide.
If all the requirements are satisfied, then download Hive MQ package.
For Linux/MacOS
You can use the terminal to unzip & run the package
cd
unzip hivemq-
Now go to bin foder & set your permissions
cd
chmod 755 run.sh
Use the below command to run HiveMQ (Root user)
./run.sh
For windows
Use your file browser to extract the ZIP archive to the directory of your choice.
To start the batch file, open the bin folder and double-click run.bat.
Once the installation is done, you can move to the browser at http://localhost:8080
Enter the login details & get started with HiveMQ
- User – admin
- Password – hivemq
Bevywise IoT Simulator Installation
As the installation process is simple and easy, you don’t need to spend much time setting up the simulating environment.
Let us start by downloading the package. Download Bevywise IoT Simulator for free & you can use the FREE version without restrictions for 30 days.
For Linux/Mac
Unzip the downloaded “Bevywise_IoTSimulator__Linux.zip.zip”
or
“Bevywise_IoTSimulator_Mac.zip” file
Open the terminal & move to the bin folder
cd
Now run the simulator with the below command
sh runsimulator.sh
For windows
Double click the downloaded “Bevywise_IoTSimulator_Win_64.exe” file
Provide the installation path in the installation window & start installation.
Open command prompt and go to the “bin” folder
Now start the simulator with runsimulator.bat command.
Connecting IoT Simulator with HiveMQ
You can either connect with TLS/SSL enabled or without TLS/SSL.
MQTT Broker Configuration
Enable/disable the TLS/SSL in MQTT Broker as per your need and check port number.
By default simulator runs in port 1883 if TLS is disabled & 8883 if TLS is disabled
Simulator Configuration
Start the Simulator in your environment and it will lead you to an IoT simulator user interface. Next, create a new network and the Simulator Setting windows will appear.
In the Simulator settings, choose as follows:
- Manager Application – Others
- Broker IP Address – IP address of PC or server where you run the MQTT Broker i.e (localhost)
- TLS/SSL – Enable (if enabled)
- Port – By default 8883(if TLS enabled), if your MQTT broker runs in a different port, specify here. Use 1883, if TLS is disabled
- Root certificate – Upload the root.crt file which you have created or downloaded before.[ Don’t forget to click upload]
- Once you’re done, save the configuration.
- Next, create devices virtually with simulator and events with published messages.
- There is no authentication option in HiveMQ side to connect devices. So you can directly connect your created devices without enabling authentication in simulator side.
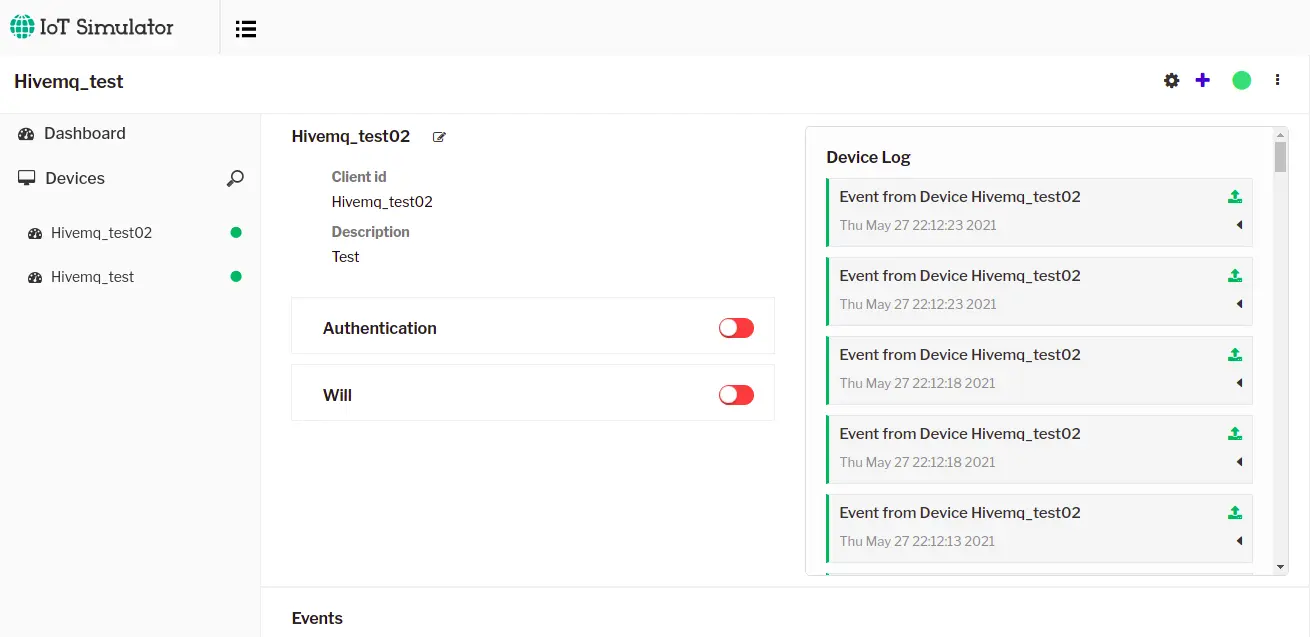
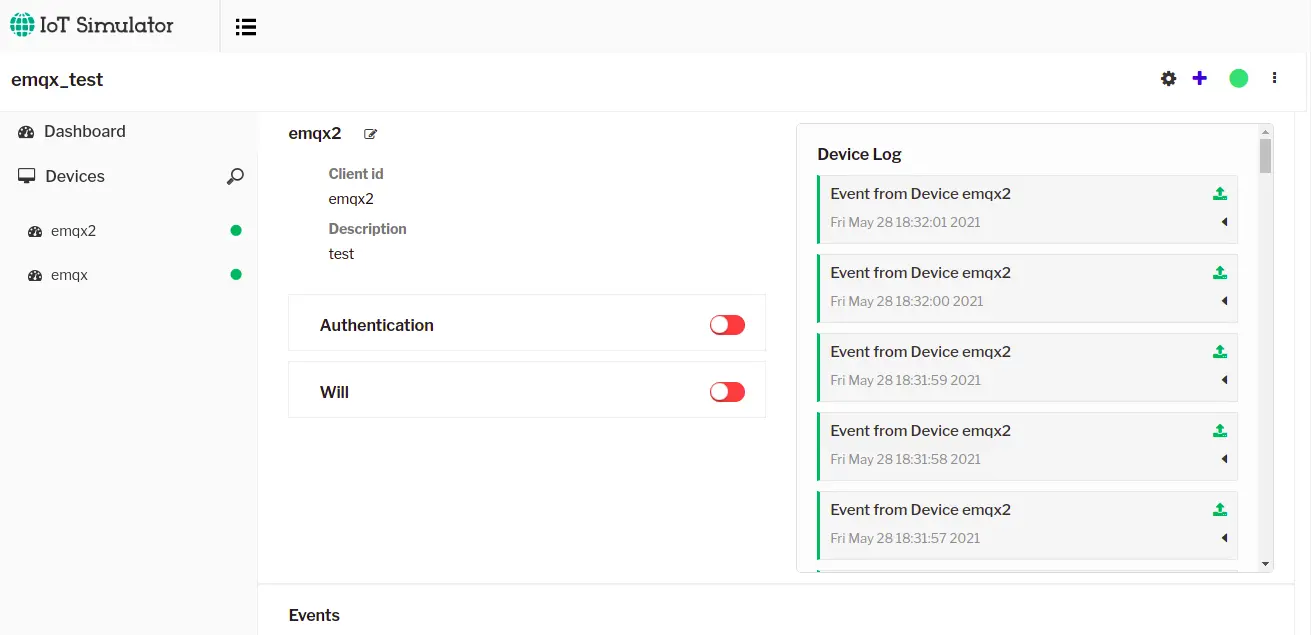
- Start the network by clicking the start button and if the connection is successful, then you can see the published messages in the simulator Network log or device log.
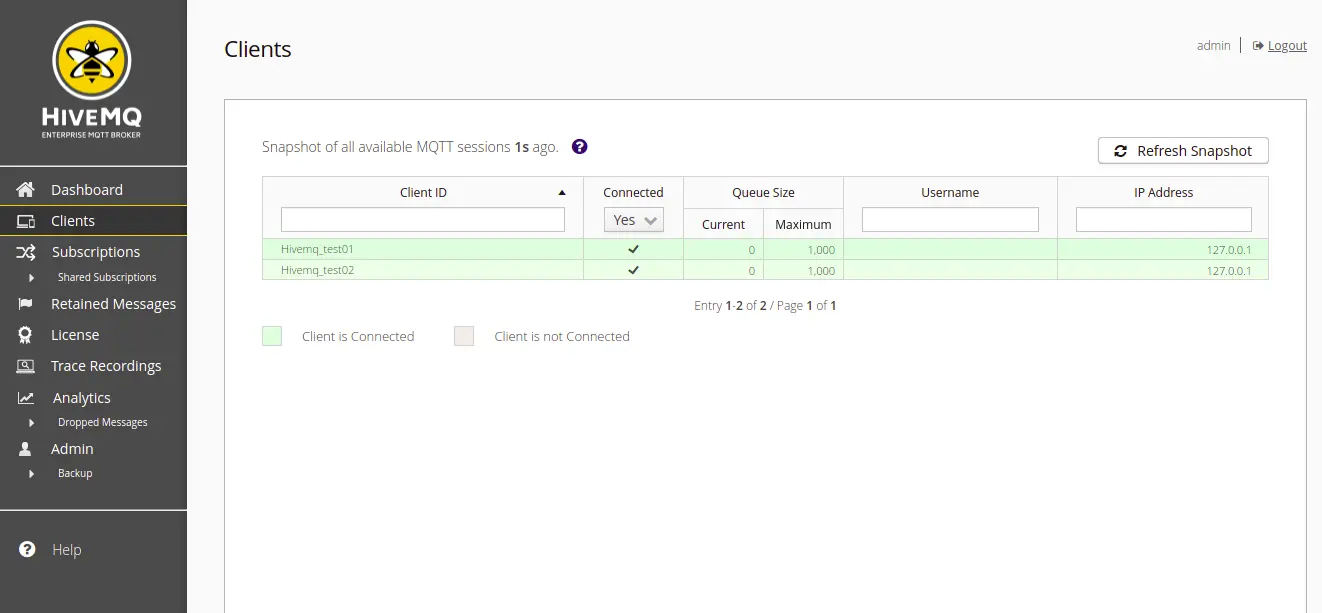
If your integration is successful, you can view the list of connected devices in HiveMQ UI. Now, get started with your application testing by simulating your real devices with IoT simulator.
EMQX integration with IoT Simulator
Before we start the integration procedure to test MQTT Broker, let us complete the installation process of EMQX & Bevywise IoT Simulator.
EMQX Installation
Operating systems currently supported by EMQX Broker:
- CentOS 6,7,8
- OpenSUSE tumbleweed
- Debian 8,9,10
- Ubuntu 14.04, 16.04, 18.04, 20.04
- macOS 10.13, 10.14, 10.15
- Windows Server 2019
Installation can be done in multiple ways. You can check your preferred method in this EMQX installation documentation.
Let us see the installation in Linux servers
One-click installation of shell script (Linux)
curl https://repos.emqx.io/install_emqx.sh | bash
Installation via zip package
Use this link to download your preferred package
Download EMQX Package or Request Trial Version
Once done, unzip the downloaded package
unzip emqx-ubuntu18.04-v3.1.0.zip
Then start EMQX
Or
Installation using snap store
sudo snap install emqx
To Quick Start with EMQX
sudo emqx start
To check Status
sudo emqx.ctl status
To Stop EMQX
sudo emqx stop
To view the dashboard after running, use your browser to open: http://localhost:18083
You will get access to the EMQX dashboard by default when the broker starts. The default user name is admin and the password is public.
To get a Free Trial License: refer this getting started guide.
Bevywise IoT Simulator Installation
First, download the Simulator package for FREE.
For Linux/Mac
Unzip the downloaded “Bevywise_IoTSimulator__Linux.zip.zip”
or
“Bevywise_IoTSimulator_Mac.zip” file
Open the terminal & move to the bin folder
cd Installation path>/Bevywise/Iotsimulator/bin
Now run the simulator with the below command
sh runsimulator.sh
For windows
Double click the downloaded “Bevywise_IoTSimulator_Win_64.exe” file
Provide the installation path in the installation window & start installation.
Open command prompt and go to the “bin” folder
Now start the simulator with runsimulator.bat command
Connecting IoT Simulator with EMQ X
You can either connect with TLS/SSL enabled or without TLS/SSL.
MQTT Broker Configuration
By default simulator runs in port 1883 if TLS is disabled & 8883 if TLS is disabled.
Simulator Configuration
Start the Simulator in your environment and it will lead you to an IoT simulator user interface.
Next, create a new network and the Simulator Setting windows will appear.
In the Simulator settings, choose as follows:
- Manager Application – Others
- Broker IP Address – IP address of PC or server where you run the MQTT Broker i.e (localhost)
- TLS/SSL – Enable (if enabled)
- Port – By default 8883(if TLS enabled), if your MQTT broker runs in a different port, specify here. Use 1883, if TLS is disabled
- Root certificate – Upload the root.crt file which you have created or downloaded before[ Don’t forget to click upload]
- Once you’re done, save the configuration.
- Next, create devices and events with published messages.
- There is no authentication option in EMQX side to connect devices. So you directly connect your created devices without enabling authentication in simulator side.
- Start the network by clicking the start button and if the connection is successful, then you can see the published message in the simulator Network log or device log.
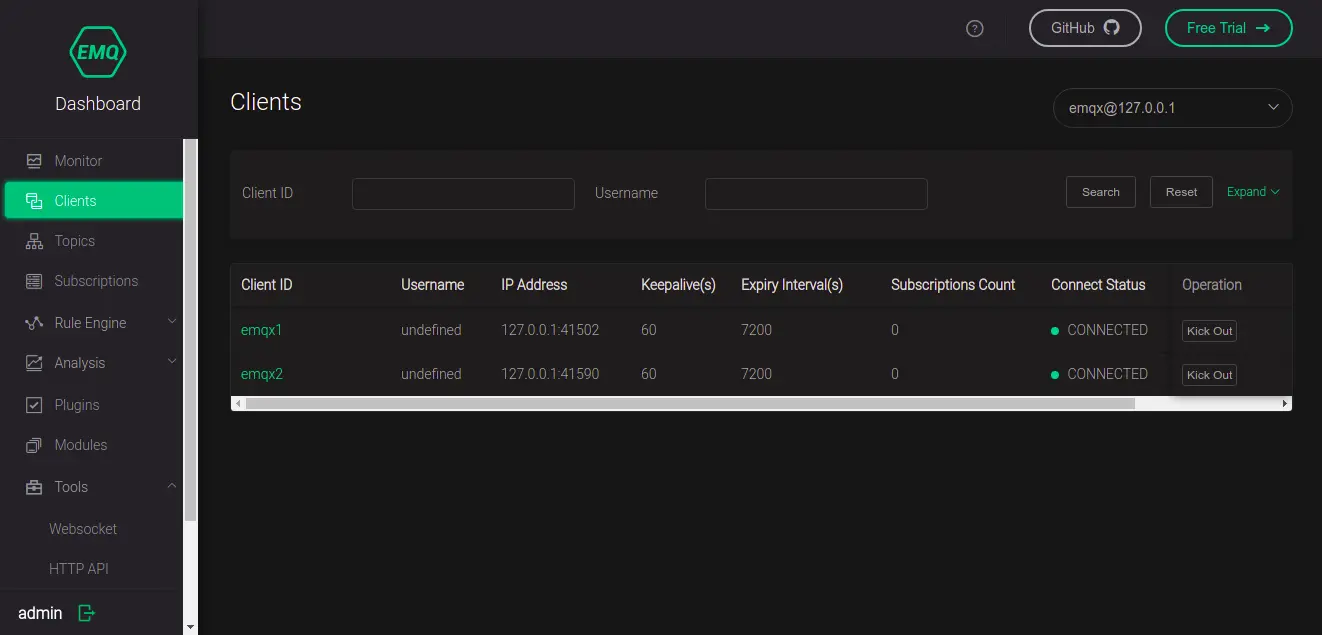
If your integration is successful, you can view the list of connected devices in EMQX UI.
Hope this article provides you a detailed view on how to test MQTT Broker (HiveMQ & EMQX) with Bevywise IoT Simulator. Try connecting with any MQTT Broker & test your application faster. You can also connect FOREVER FREE version of Bevywise MQTT Broker with IoT simulator for reliable testing.
Download IoT Simulator now for FREE to get started with your application testing.
Submit a Comment
Please take a moment to fill this form
